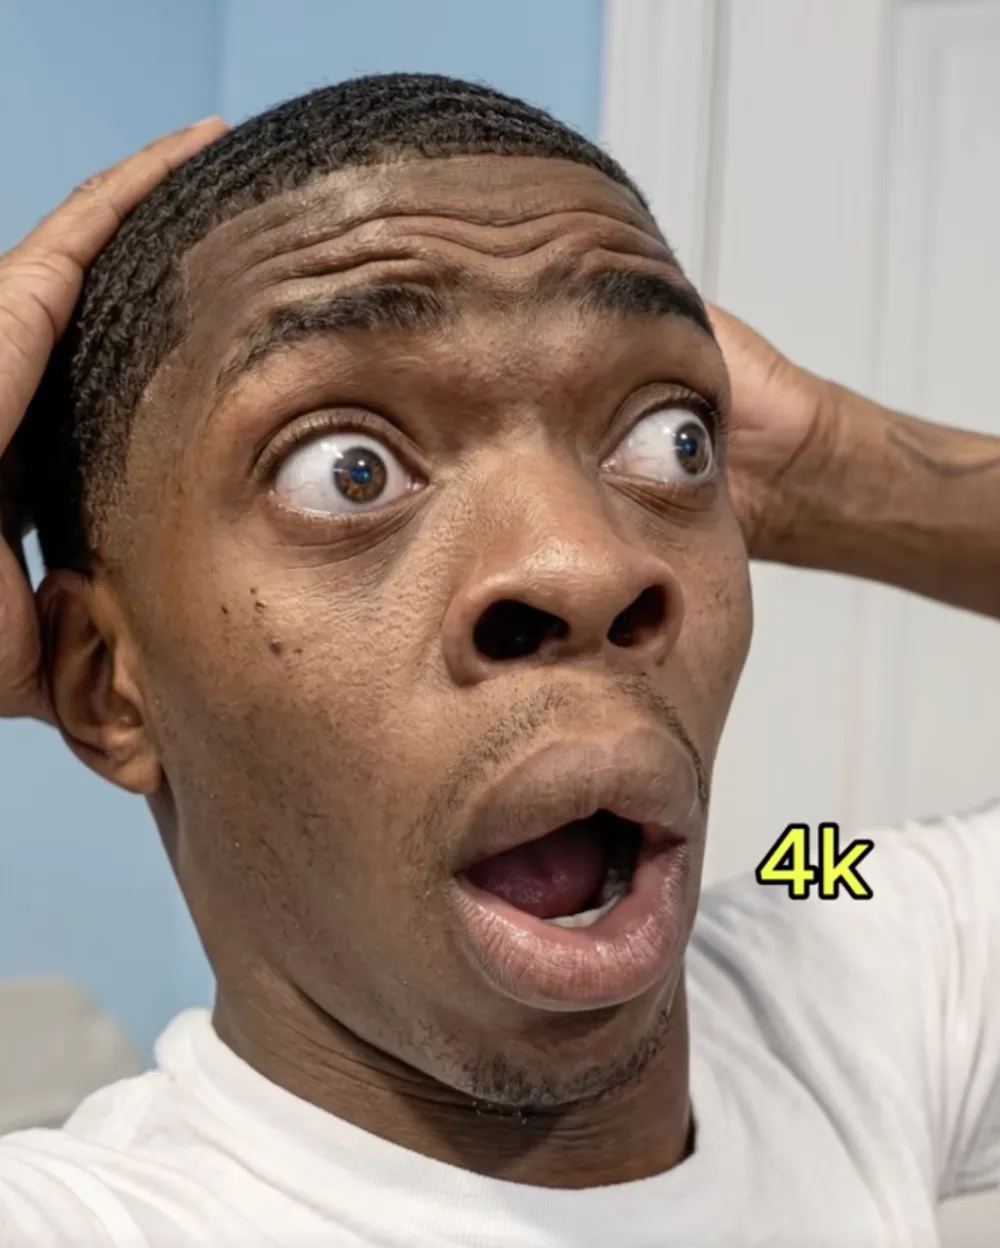
4k quality
Om Editing Top: 4k Quality Portrait Editing ka Style Kya Hai?
Om Editing Top ka 4k quality portrait editing style un logon ke liye hai jo apni normal photo ko clean, premium aur ultra-sharp look dena chahte hain, bina face ya background ko bigaade. Is type ka edit especially un users ke kaam aata hai jo mobile se photo edit karte hain aur chahte hain ki result professional camera shot jaisa lage.
Read Also: cinematic-style realistic portrait | 2026 New Year
Is style ka main goal sirf photo ko sharp banana nahi hota, balki subject ki identity, expression aur original feel ko intact rakhte hue overall quality improve karna hota hai. Agar aap portrait, profile photo, Instagram post ya digital showcase ke liye ek realistic cinematic look chahte hain, to Om Editing Top ka 4k quality prompt-style edit kaafi useful ho sakta hai.
Is approach me lighting ko natural rakha jata hai, skin texture ko over-smooth nahi kiya jata, aur background ko as-it-is preserve kiya jata hai. Isliye final image fake ya over-edited nahi lagti, balki ek polished editorial portrait ki tarah dikhti hai.
This Style Prompt Style Aapko Kya Deta Hai?
Is style ka sabse bada benefit hai realism ke saath premium finish. Photo me sharpness badhti hai, subject ka focus clear hota hai, aur overall clarity better dikhti hai. Saath hi cinematic depth of field jaisa effect aata hai, jisse subject background se naturally separate dikhta hai.
Lighting ko soft directional form me enhance kiya jata hai, jahan warm highlights aur cool shadows photo ko balanced aur visually rich banate hain. Isse portrait ka mood subtle cinematic lagta hai, lekin dramatic nahi hota. Colors bhi editorial tone me maintain hote hain, jisse image clean aur professional dikhe.
Yeh style un users ke liye best hai jo chaahte hain ki photo me ye features dikhen:
- 4K quality jaisa crisp detail aur clarity
- Natural skin texture, bina plastic look ke
- Perfect focus with shallow depth of field
- Neutral editorial color profile
- Original background aur lighting direction preserve rahe
- Subtle film grain for realistic finish
This Style Ka Use Kaise Karein: Beginner-Friendly Step-by-Step Guide
Agar aap mobile user hain aur pehli baar is type ka edit try kar rahe hain, to process ko simple rakhiye. Sabse pehle ek clear portrait photo select karein jisme face properly visible ho aur image already thodi achi quality ki ho. Poor lighting ya extra blur wali photo me best result milna mushkil hota hai.
Uske baad image ko apne editing tool ya prompt-based workflow me open kijiye. Yahan objective ye hota hai ki photo ki identity same rahe, bas quality improve ho. Isliye aapko transformation wali settings ya heavy beauty filters avoid karne chahiye. Subtle enhancement hi is style ki pehchaan hai.
Step-by-step simple method:
- Apni best portrait photo gallery se select karein.
- Ensure karein ki face, eyes aur hair details clearly visible hon.
- Photo ko editor me upload karke basic crop ya straighten karein, agar zarurat ho.
- 4k quality aur realism-focused enhancement apply karein.
- Background change, face swap ya heavy skin smoothing jaise options avoid karein.
- Preview me check karein ki expression aur facial shape same hai ya nahi.
- Final output ko high resolution me save karein.
Agar aap mobile par kaam kar rahe hain, to hamesha zoom karke face edges, eyes, skin texture aur background consistency check karein. Isse aapko pata chalega ki edit natural lag raha hai ya nahi. Beginner users ke liye sabse important rule ye hai: less is more.
This Style Ke Liye Kaunsi Photos Sabse Achhi Rehti Hain?
Best result tab milta hai jab input photo already strong ho. Is style ke liye portrait shots, half-body photos aur close-up face images zyada suitable rehti hain. Photo me subject ka face seedha ya thoda angle par ho sakta hai, lekin itna tilted na ho ki facial shape distort lage.
Resolution jitni achi hogi, final 4k quality utni better dikhegi. Agar photo pehle se hi blur, dark ya noisy hai, to edit ke baad bhi usme limitation reh sakti hai. Light natural ya soft indoor ho to result aur bhi balanced aata hai. Hard flash ya mixed lighting kabhi-kabhi texture ko unnatural bana sakti hai.
Photo select karte waqt in points ka dhyan rakhein:
- Angle: front-facing ya slight side angle portrait best rehta hai
- Resolution: high-resolution image choose karein, low-quality screenshot nahi
- Lighting: soft daylight, window light ya even indoor light better hoti hai
- Background: simple aur uncluttered background zyada natural result deta hai
- Clothing: solid colors, clean patterns aur neat outfit editorial look ko improve karte hain
- Expression: natural expression, smile ya neutral look zyada realistic lagta hai
Sabse achhi photos wahi hoti hain jisme subject clearly visible ho aur image already properly framed ho. Agar background bahut busy hai, light uneven hai, ya face partially hidden hai, to output me detail preserve karna mushkil ho sakta hai. Isliye edit se pehle photo ko carefully choose karna hi best starting point hai.
Pro tips for the best results with 4k quality
अगर आप 4k quality वाले portrait edit से सबसे साफ, premium और realistic output चाहते हैं, तो सबसे पहले image selection पर ध्यान दें। जितनी better original photo होगी, उतना ही strong final result आएगा. खासकर face details, eye sharpness, और lighting balance साफ होनी चाहिए, ताकि enhancement के बाद natural look बना रहे.
Best output के लिए edit करते समय small refinements prefer करें, heavy changes नहीं. जब identity, expression, facial shape, background direction और original mood same रहते हैं, तब result ज्यादा professional लगता है. यही approach Om Editing Top style output को clean, cinematic और believable बनाती है.
- High-resolution original photo use करें, ताकि detail loss कम हो.
- Face पर subtle cleanup रखें, over-smoothing से बचें.
- Background को preserve करें, ताकि image natural लगे.
- Lighting direction same रखें, जिससे realism बना रहे.
- Skin texture natural रखें, fake beauty filter जैसा effect न आए.
- Color profile neutral रखें, ताकि final image editorial feel दे.
अगर आप social media, portfolio या profile use के लिए edit बना रहे हैं, तो final sharpen हल्का रखें. बहुत ज्यादा sharpness चेहरे को harsh दिखा सकती है, जबकि balanced sharpness image को crisp और premium बनाती है. यही छोटे tweaks 4k quality results को next level पर ले जाते हैं.
Common mistakes to avoid in This Style
सबसे common mistake है identity को unnecessarily change कर देना. कई बार edit करते समय facial shape, eyes, nose, या expression थोड़ा भी बदल जाता है, और output natural नहीं लगता. अगर goal realistic enhancement है, तो subject की original look intact रहनी चाहिए.
दूसरी बड़ी गलती है background में बदलाव करना या lighting direction को उलट देना. इससे image का original feel टूट जाता है और result synthetic दिखता है. Om Editing Top style edits में subtle enhancement ज्यादा important है, dramatic transformation नहीं.
- Over-smoothing skin: इससे texture हट जाता है और face plastic जैसा लग सकता है.
- Too much sharpening: Excess sharpness pores, edges और noise को harsh बना देती है.
- Background changes: Original scene की authenticity कम हो जाती है.
- Unnatural lighting: Face aur background का light mismatch output को fake बनाता है.
- Extra objects जोड़ना: Subject focus टूटता है और clean portrait look disturb होता है.
- Color over-editing: Too warm or too cool tones editorial balance बिगाड़ सकते हैं.
अगर आप professional-looking result चाहते हैं, तो हर step में control जरूरी है. Small cleanup, realistic depth, and balanced tone correction ही वह चीजें हैं जो final image को polished बनाती हैं. यही reason है कि 4k quality edits हमेशा subtle improvement के साथ सबसे अच्छे लगते हैं.
Best use cases and ideas for 4k quality images
4k quality portraits कई जगह बहुत useful होते हैं, खासकर जब आपको clean and premium visual चाहिए. Instagram posts, profile pictures, reels covers, thumbnails, aur portfolio display के लिए ये style काफी effective रहता है. Sharp details और natural look audience पर strong first impression बनाते हैं.
अगर आप creator, influencer, photographer या designer हैं, तो इस तरह की edit आपकी personal branding को भी upgrade कर सकती है. High-quality portrait use करके आप apne content ko more professional बना सकते हैं, without making it look overly edited. Om Editing Top look खासकर उन images में अच्छा लगता है जहाँ subject focus strong होना चाहिए.
- Instagram posts: Clean portrait feed ko premium feel देते हैं.
- Profile pictures: Sharp and natural face detail trust build करती है.
- Thumbnails: Close-up face with 4k clarity more attention grabs करता है.
- Portfolios: Photographers और editors के लिए polished presentation बनती है.
- Reels covers: Clear face and balanced lighting scroll-stopping effect देती है.
इन images को you can also use for personal branding, website hero sections, artist profiles, and digital posters. जब resolution high हो और edit natural लगे, तो same photo multiple platforms पर easily work करती है. यही versatility 4k quality output को इतना practical बनाती है.
Variations you can try with This Style
अगर आप experiment करना चाहते हैं, तो same style के अंदर different moods try कर सकते हैं. Light, color tone, season, और background feel बदलकर आप image को fresh बना सकते हैं, while preserving the core identity and realistic portrait look. यही flexibility Om Editing Top edits को interesting बनाती है.
आप cool editorial tone, warm cinematic tone, soft daylight look, or premium neutral finish try कर सकते हैं. हर variation का अपना purpose होता है, इसलिए platform और use case के हिसाब से style चुनना smart रहता है. उदाहरण के लिए, Instagram के लिए slightly vibrant look अच्छा लग सकता है, जबकि portfolio के लिए clean neutral finish बेहतर रहती है.
- Mood variation: Soft, serious, confident, dreamy, or cinematic expressions.
- Colour variation: Warm highlights, cool shadows, neutral editorial tones.
- Seasonal variation: Summer glow, monsoon mood, winter coolness, autumn tones.
- Setting variation: Indoor, outdoor, studio-like, urban, or natural background feel.
- Platform variation: Social post, thumbnail, profile pic, or cover image style.
आप subtle grain, softer contrast, or slightly deeper shadows के साथ भी experiment कर सकते हैं, बस realism maintain रहे. Best results वही होते हैं जहाँ enhancement noticeable हो लेकिन artificial न लगे. इसी balance से 4k quality image polished और believable बनती है.
Conclusion: try This Style for 4k quality results
अगर आप clean, realistic, and premium portrait enhancement चाहते हैं, तो this style approach आपके लिए बहुत useful हो सकती है. सही lighting, natural skin texture, preserved background, और subtle cleanup के साथ आप ऐसी 4k quality image बना सकते हैं जो professional भी लगे और authentic भी रहे.
अब आप इन tips, mistakes, use cases, और variations को apply करके अपनी next edit को और better बना सकते हैं. Try करें, compare करें, और देखें कि small refinements कैसे big difference लाते हैं. Final goal यही है कि image sharp हो, natural हो, और देखने में truly premium लगे.
💬 Comments