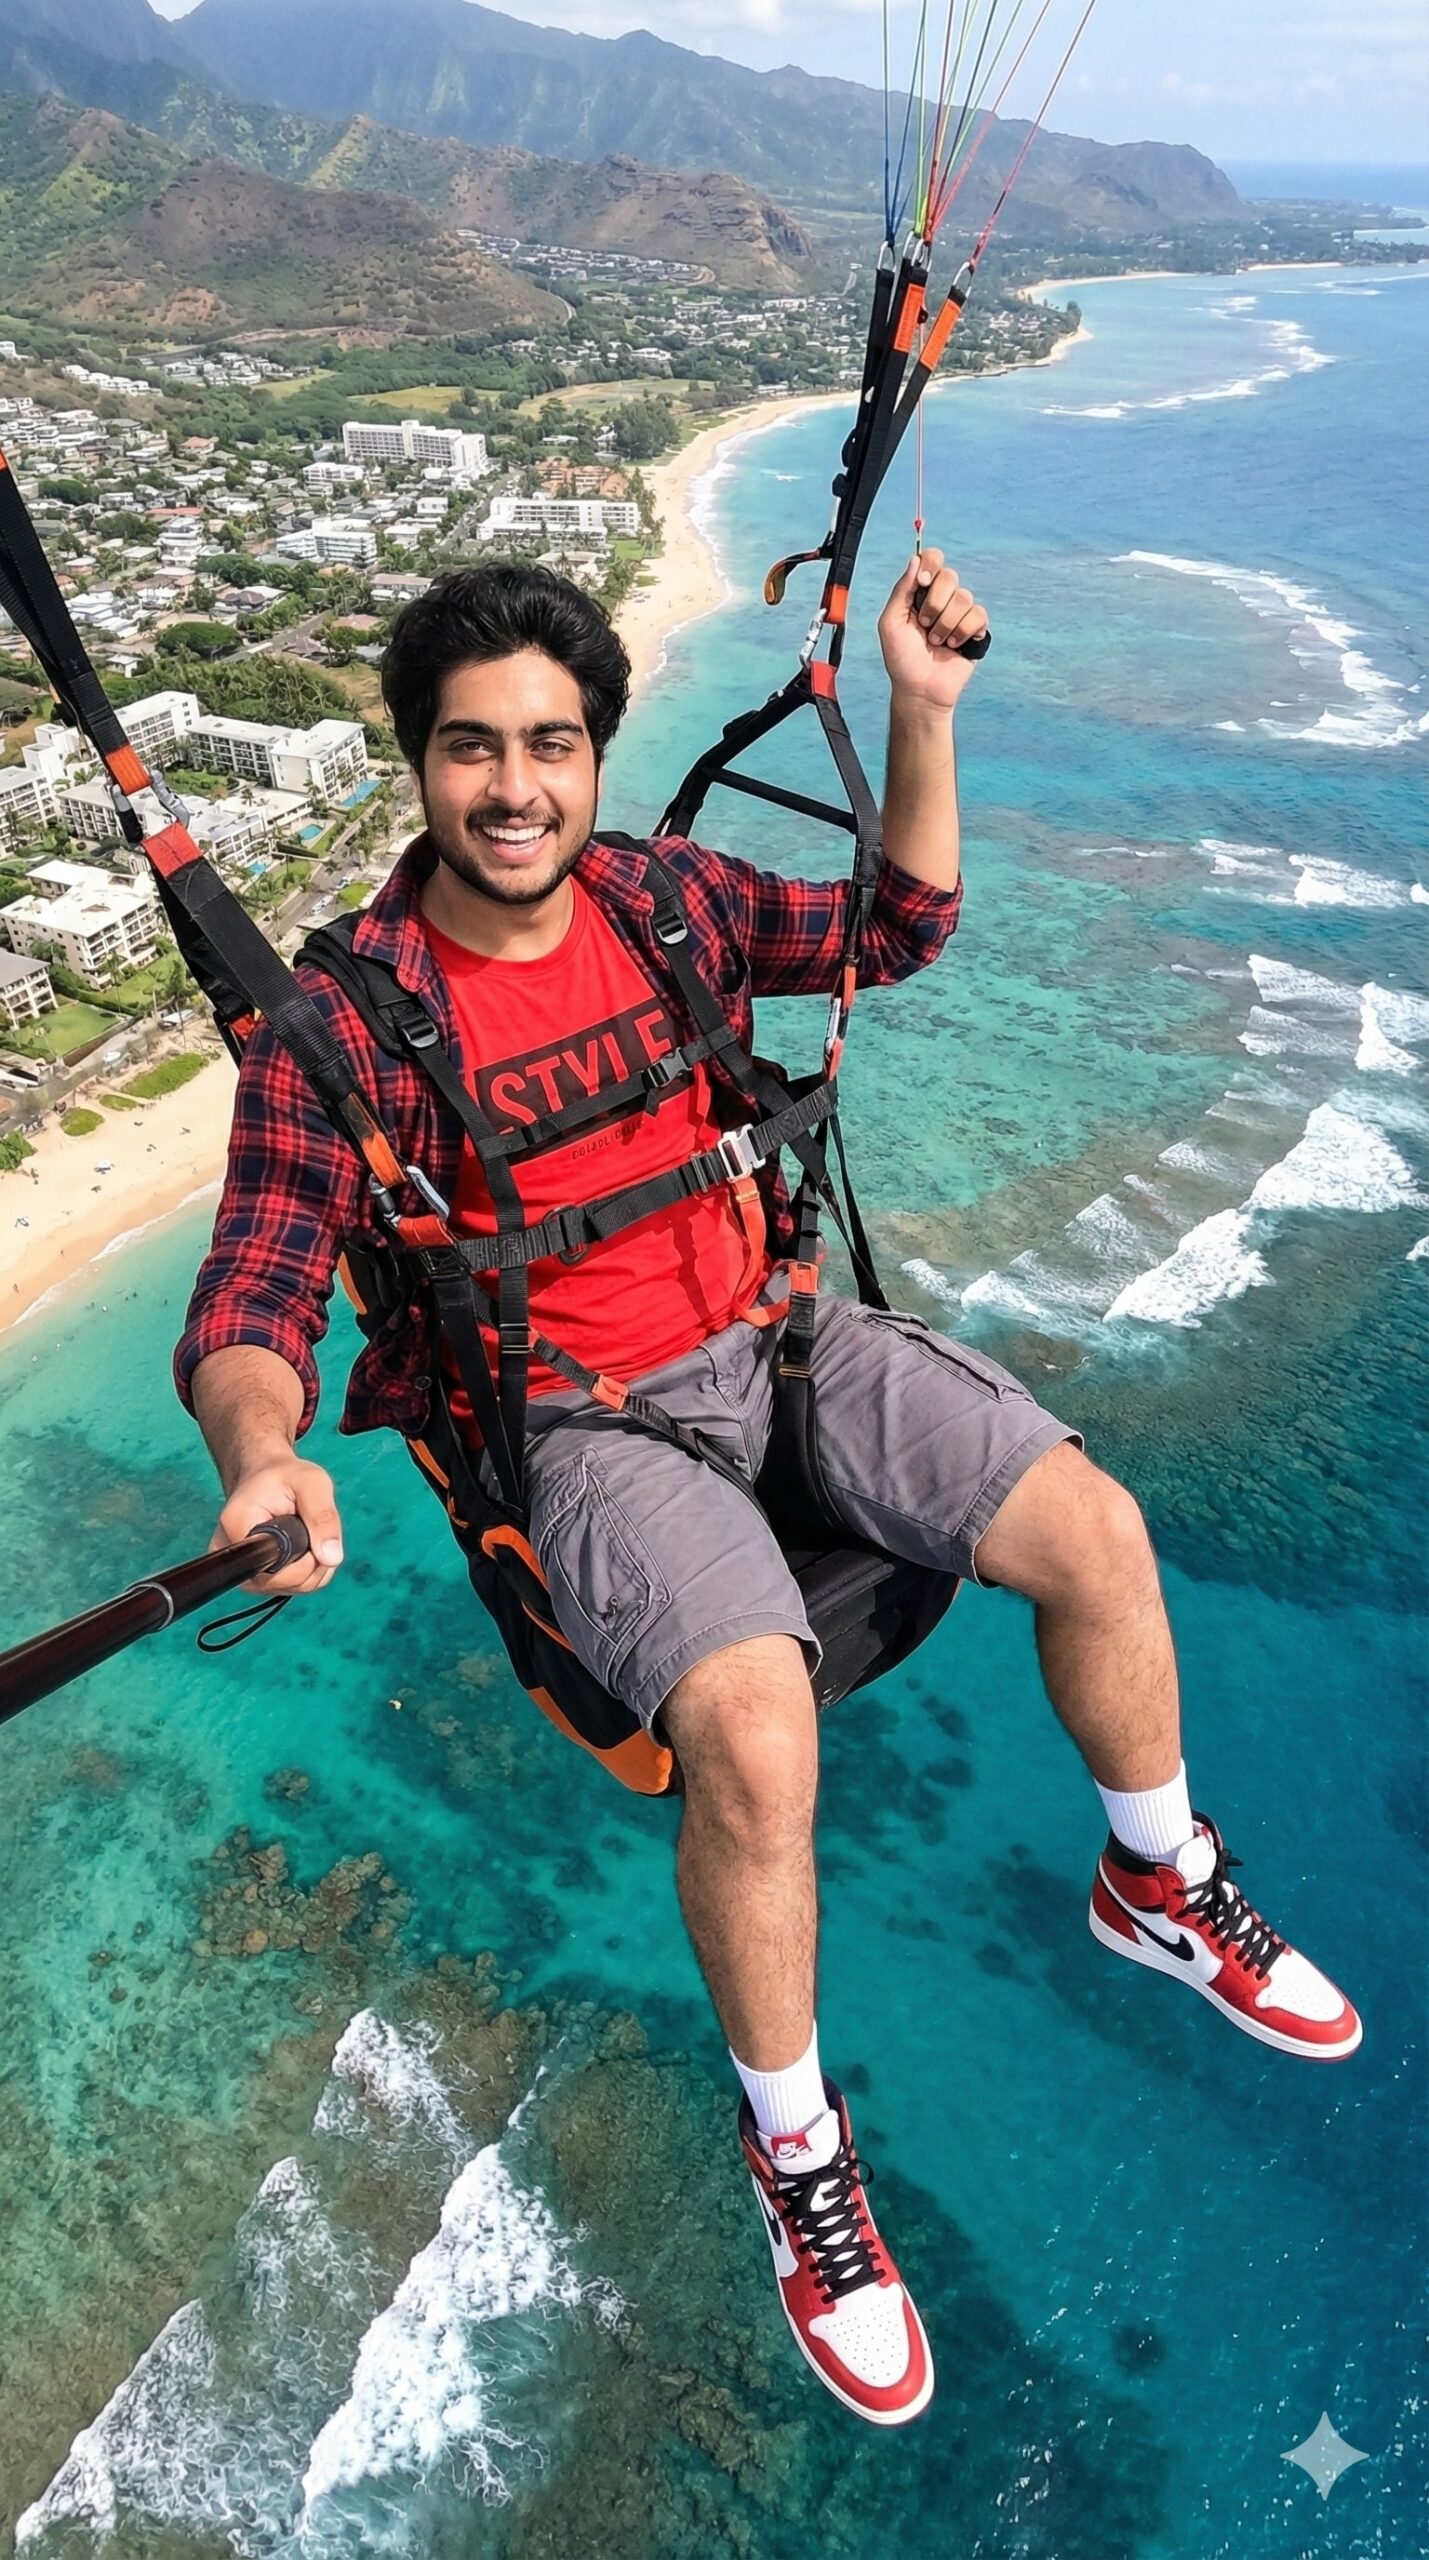
adventure photograph
Om Editing Top के साथ Adventure Photograph Style क्या है?
Om Editing Top जैसे adventure photograph style का मकसद एक साधारण फोटो को cinematic, high-energy और ultra-realistic look देना होता है। इस तरह की editing खासतौर पर उन लोगों के लिए useful है जो travel, paragliding, aerial adventure, outdoor portrait, और social-media-ready visuals बनाना चाहते हैं।
Read Also: cinematic-style realistic portrait | 2026 New Year
यह style खासकर तब काम आती है जब आप अपनी photo में movement, thrill, and location-based storytelling जोड़ना चाहते हैं। यानी सिर्फ face दिखाना नहीं, बल्कि ऐसा feel देना कि आप सच में हवा में उड़ रहे हैं, ocean के ऊपर adventure कर रहे हैं, या किसी scenic coastline के बीच एक memorable moment capture हुआ है।
अगर आप beginner हैं और mobile से editing करना चाहते हैं, तो यह style आपके लिए बहुत practical है। इसमें proper composition, bright colours, realistic shadows, and natural skin tones की जरूरत होती है, ताकि result fake न लगे और photo professional लगे।
Adventure Photograph Style में आपको क्या मिलता है?
इस तरह की photo editing में सबसे बड़ा focus realism और dramatic visual appeal पर होता है। Light usually bright, fresh, and natural रखी जाती है, जिससे subject साफ दिखे और background की details भी strong रहें। Aerial shots या adventure scenes में blue sky, turquoise water, and tropical environment जैसी colours photo को instantly premium feel देती हैं।
Composition भी बहुत important होती है। Subject को अक्सर center या slightly off-center रखा जाता है ताकि motion और depth दोनों feel हों। Clothing colors, facial expression, and environment सब मिलकर एक strong storytelling image बनाते हैं। यही वजह है कि adventure photograph style सिर्फ “photo editing” नहीं, बल्कि एक full visual experience बन जाता है।
अगर सही तरीके से किया जाए, तो इस style में ये visual qualities मिलती हैं:
- Bright and vibrant colour grading
- Natural-looking skin tone and facial details
- Sharp subject focus with scenic depth
- Travel-adventure mood with cinematic energy
- Realistic water, sky, and coastline textures
This Style को Mobile पर कैसे Use करें?
अगर आप beginner हैं, तो भी इसे follow करना आसान है। सबसे पहले एक ऐसी photo चुनें जिसमें आपका face clear हो और body position clean दिख रही हो। Adventure photograph style में subject की clarity बहुत matter करती है, क्योंकि बाद में background, lighting, and colour balancing इसी पर depend करते हैं।
इसके बाद आपको editing app में image open करके basic adjustments करने होते हैं। Brightness, contrast, saturation, highlights, and shadows को carefully tune करें। शुरुआत में ज्यादा effects मत डालिए; पहले photo को natural base पर set करना बेहतर होता है। फिर background enhancement, colour tone correction, and sharpening जैसी settings use करें।
Mobile पर follow करने के लिए आसान steps:
- अपनी best clear photo select करें, जिसमें face blur न हो।
- Photo को crop करके subject को strong composition में रखें।
- Brightness और contrast को balanced level पर set करें।
- Blue, green, and warm tones को subtle तरीके से enhance करें।
- Skin tone को natural रखें ताकि editing overdone न लगे।
- Background details को sharpen करें, लेकिन noise न बढ़ाएँ।
- Final image को zoom करके check करें और छोटे corrections करें।
अगर आप social media के लिए edit कर रहे हैं, तो final output को square या portrait format में export करना helpful रहेगा। इससे photo Instagram, Facebook, and blog thumbnails पर ज्यादा attractive दिखती है।
कौन-सी Photos Adventure Photograph Style के लिए सबसे अच्छी रहती हैं?
इस style के लिए सबसे अच्छी photo वही होती है जिसमें subject का angle clear हो और background clutter-free हो। Face front-facing या slightly turned pose में हो तो editing आसान रहती है। Aerial, travel, and outdoor photos में clean composition बहुत जरूरी है, क्योंकि crowded background result को weak बना सकता है।
Resolution भी high होनी चाहिए। Low-quality image में detail loss जल्दी दिखाई देता है, खासकर जब आप sky, water, clothing texture, या facial features enhance करते हैं। अच्छी lighting photo को और realistic बनाती है, इसलिए natural daylight, soft sunlight, या evenly lit outdoor shots best होते हैं।
Photo चुनते समय इन बातों का ध्यान रखें:
- Angle: Face और body clearly visible हों; awkward tilt न हो
- Resolution: High-resolution image use करें ताकि details crisp रहें
- Lighting: Natural daylight या soft outdoor light सबसे अच्छा रहता है
- Background: Clean sky, sea, mountain, coast, या open landscape बेहतर है
- Clothing: Bright and contrasty clothes outdoor adventure look को strong बनाती हैं
- Expression: Smile, excitement, or calm confident look image को powerful बनाता है
अगर आपकी original photo में motion, travel feel, and open scenery already मौजूद है, तो Om Editing Top style उसे और ज्यादा impressive बना सकती है। ऐसे photos में final result अधिक natural, engaging, and shareable लगता है।
Om Editing Top ke liye Pro Tips for Best Results
Om Editing Top se best output tab aata hai jab aap prompt ko clear, specific aur visually focused rakhte ho. Agar aap adventure photograph ya paragliding-style image banwa rahe ho, to subject ka pose, background, outfit aur lighting jitna clearly define karoge, utna hi final result zyada polished aur realistic lagega.
Ek aur important point hai consistency. Same face, same outfit details, aur same camera feeling maintain karne se image zyada natural lagti hai. Agar aap Instagram post, profile picture, ya thumbnail ke liye image chahte ho, to composition bhi simple aur balanced rakhni chahiye, taaki subject background me lost na ho.
- Subject ka pose clearly define karo, jaise seated, smiling, facing camera, ya action moment.
- Outfit colors ko specific rakho, especially jab red, black, white jaise bold shades use karne ho.
- Background me location ka mood mention karo, for example tropical coastline, turquoise water, ya white sandy beach.
- Lighting ka style mention karo, jaise bright daylight, golden hour, ya vibrant natural light.
- Agar selfie look chahiye, to camera angle aur hand position ko prompt me clearly include karo.
- High realism ke liye small details add karo, jaise waves, coral reefs, coastal town, ya sky clarity.
Om Editing Top images me practical detail bahut matter karti hai. Agar aap travel content, social media edits, ya cinematic adventure visuals banana chahte ho, to prompt ko overcomplicate karne ke bajay organized aur layered rakho. Pehle subject, phir clothing, phir environment, aur end me mood ya action line add karna ek strong workflow hota hai.
Common Mistakes to Avoid in This Style Prompts
Sabse common mistake hoti hai vague wording. Agar aap sirf “adventure photo” ya “good background” likh dete ho, to output generic aa sakta hai. Om Editing Top ko strong banane ke liye precise visual instructions dene padte hain, warna subject, pose, aur background ka balance weak ho sakta hai.
Doosri galti hoti hai too many conflicting details. Jab prompt me ek hi time par multiple camera angles, mixed lighting, aur unrelated scene elements aa jate hain, to image cluttered lag sakti hai. Isliye ek clear theme choose karo, especially agar aap paragliding, aerial travel, ya extreme sports style image use kar rahe ho.
- Vague prompts avoid karo, kyunki generic text se bland output milta hai.
- Conflicting outfit ya background details na add karo, warna realism weak ho jata hai.
- Too many objects ek saath na bhar do, warna main subject highlight nahi hota.
- Facial expression ignore mat karo, kyunki emotion image ko alive banata hai.
- Over-editing style ke words se bachो, kyunki natural adventure feel kharab ho sakti hai.
Ek aur mistake hoti hai composition ko ignore karna. Agar subject aur scenic view ka relationship clear nahi hoga, to result busy ya unbalanced lag sakta hai. This style me best practice ye hai ki human subject ko center of attention rakho, aur background ko support role me use karo, na ki competition me.
Best Use Cases and Ideas for These Images
This prompt style adventure photographs ka use bahut jagah hota hai. Ye images especially travel-themed social media content, profile visuals, and eye-catching promotional graphics ke liye kaafi effective hoti hain. Inka bright, energetic, aur cinematic look instantly attention grab karta hai.
Agar aap Instagram par travel reel cover, story post, ya feed highlight create kar rahe ho, to aisi image bahut useful hoti hai. Paragliding, beach view, aur aerial adventure ka combination adventurous personality show karta hai, jo audience ko click karne par inspire karta hai. Iske alawa YouTube thumbnails aur portfolio banners me bhi ye style strong visual impact deta hai.
- Instagram posts ke liye bold, colorful, high-energy visuals.
- Profile pictures ke liye clean, face-focused adventure portraits.
- YouTube thumbnails me travel, vlog, aur adventure content ke liye.
- Portfolio use me cinematic outdoor photography showcase karne ke liye.
- Reels covers me instant curiosity aur scroll-stopping effect ke liye.
This look ki sabse badi strength ye hai ki ye same concept ko different platforms ke liye adapt kar sakta hai. Ek version zyada wide landscape feel de sakta hai, doosra tighter portrait framing ke saath social media-friendly ho sakta hai. Is flexibility ki wajah se creators, editors, aur content makers is type ki image ko multiple use cases me repurpose kar sakte hain.
Variations You Can Try with This Style
Agar aap ek hi base idea ko baar-baar use karna chahte ho, to mood aur setting ke variations try karna smart hota hai. Yeh style prompts me chhote changes karke aap completely different visual vibe create kar sakte ho, jaise cheerful summer adventure, dramatic sunset scene, ya clean daytime travel look.
Colours ka role bhi bahut important hai. Bright red outfit energetic feel deta hai, jabki cooler tones zyada calm aur premium appearance la sakte hain. Similarly, background me tropical coast ke bajay mountains, open sky, or sunset clouds use karne se image ka atmosphere kaafi change ho jata hai.
- Mood variation: joyful, fearless, calm, cinematic, or high-energy look try karo.
- Colour variation: red, orange, blue, white, or neutral tones ke saath experiment karo.
- Season variation: summer beach, monsoon clouds, winter air, ya spring sky themes use karo.
- Setting variation: coastal town, mountain paragliding, open desert, ya island backdrop test karo.
- Light variation: golden hour, midday brightness, soft sunrise, or dramatic sunset effects try karo.
Aap camera style me bhi variation la sakte ho. Close-up framing zyada emotional feel deti hai, while wide aerial framing zyada epic aur cinematic lagti hai. This edit ke saath ye experiments karna easy hota hai, kyunki same idea ke different versions social media testing, A/B thumbnails, aur content planning me kaam aate hain.
Conclusion: This Style Se Try Karke Dekho
Overall, this style aisi edits ke liye kaafi powerful concept hai jahan aapko adventure, realism, aur visual impact ek saath chahiye. Agar aap details ko clearly structure karte ho aur subject ko background ke saath balance me rakhte ho, to output zyada professional aur attractive dikhega.
Chahe aap Instagram ke liye image bana rahe ho, YouTube thumbnail design kar rahe ho, ya portfolio me add karne ke liye eye-catching visual chahte ho, this prompt se kaafi strong result mil sakta hai. Ab aap different moods, colours, aur settings ke saath experiment karke apna best version try kar sakte ho.
💬 Comments